Bringing Home Your New Camera
Bringing home a new camera gives me a rush on par with taking home a new puppy. Which camera accoutrements should I add on — additional lenses, lighting equipment, camera bag, or cute accessories?
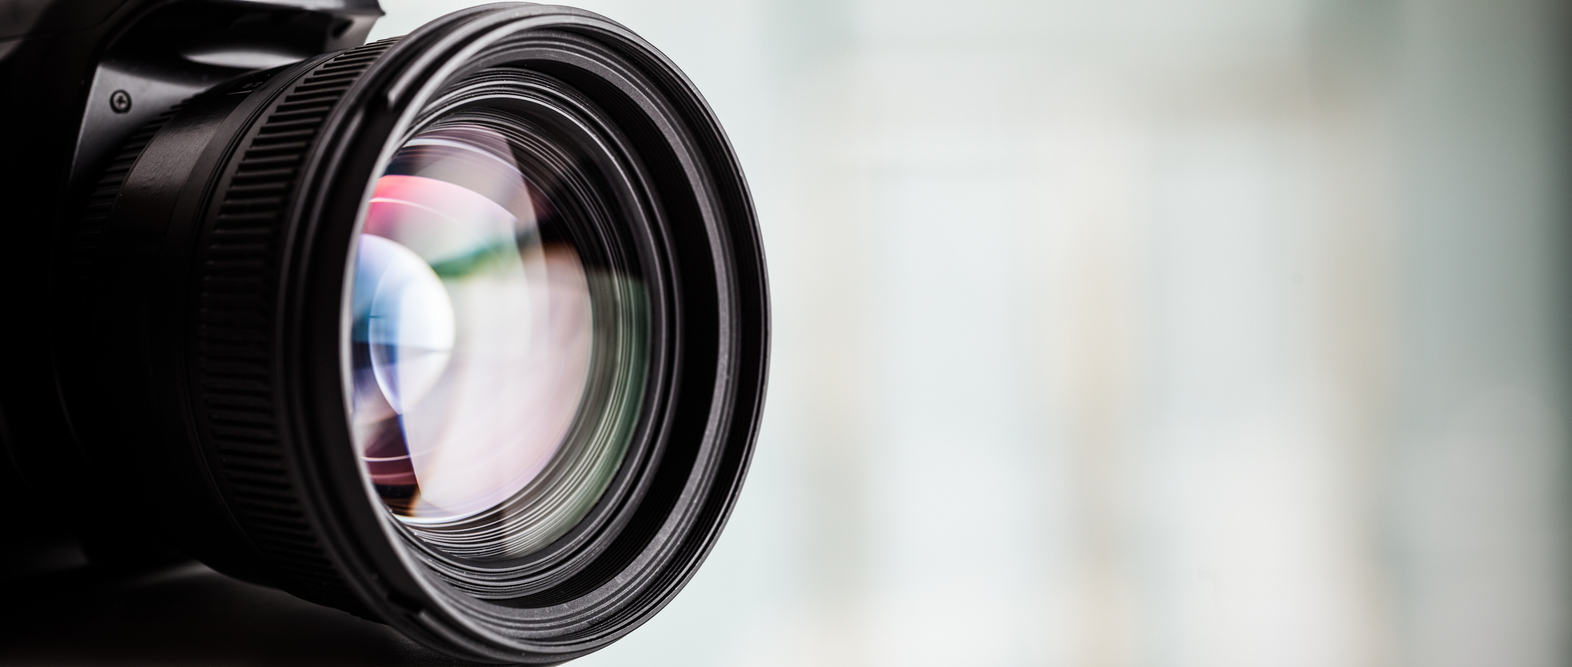
When in doubt, go back to the basics. Keep it simple.
These wise words were given to me the day before my first paid photography job. My mentor also advised me to talk slower and remember: I am not the center of the universe.
Almost 20 years later, I still get paid to do what I love.
The photography world encompasses an enormous amount of creatives at all skill levels. From melting cheese slices over a steamer for the perfectly built hamburger to getting a claw-footed bathtub with steaming water dropped off at a field in the middle of nowhere, I have seen a lot. Through school and learning on the job, a strong foundation of skills makes it possible to go back to the basics when evaluating a challenge.
The following steps should act as a foundation on which to build. I wish you luck and many fun times capturing your perspective on this Earth.
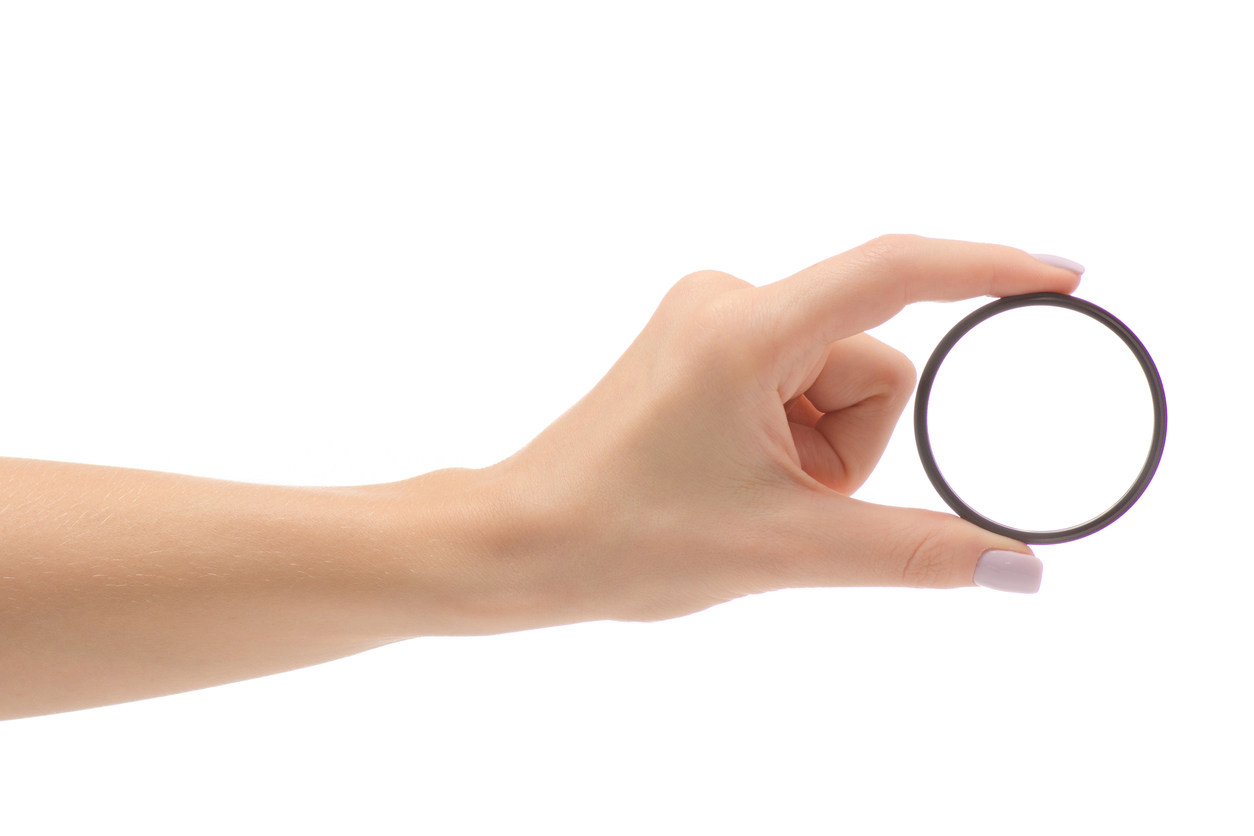
Buy a filter to protect your lens. The filter shatters instead of your lens glass. The sticky hairspray hits the filter instead of the lens. The list goes on!
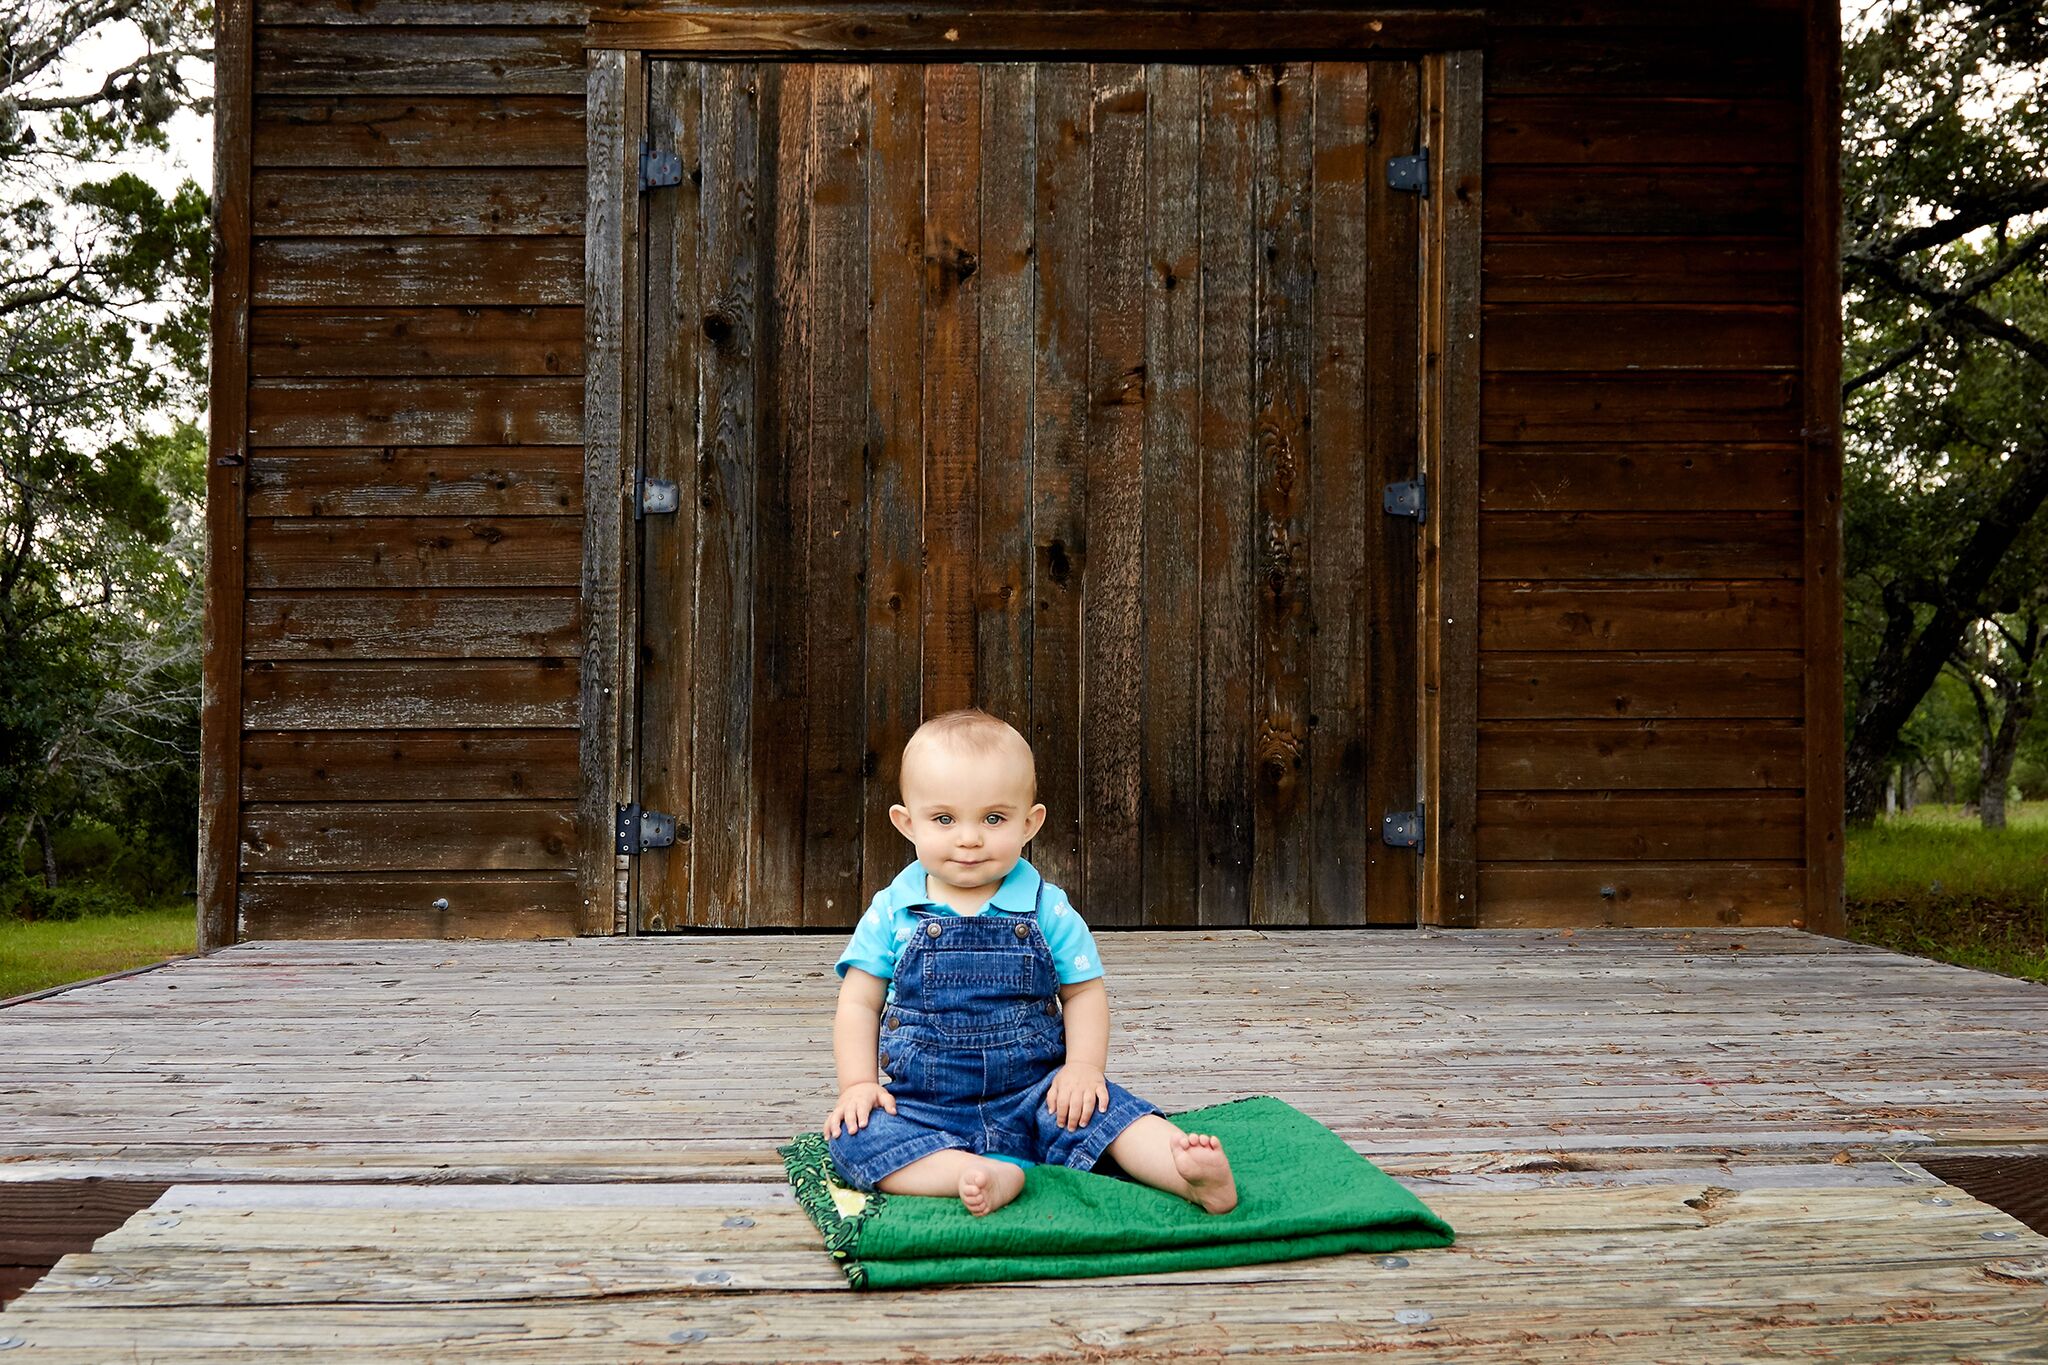
photo credit: KBB Photography
Practice composition with your lens fixed on 50mm. If your lens is a zoom, keep it on 50mm and leave it there. This helps with understanding your lens and focal length. If you’re not close enough to the subject, walk closer instead of zooming. It will get you more comfortable shooting people and at the same time works great for composing landscapes. When a pose or angle is not optimal, walking closer or taking a step to the side can be better than moving a subject or zooming.
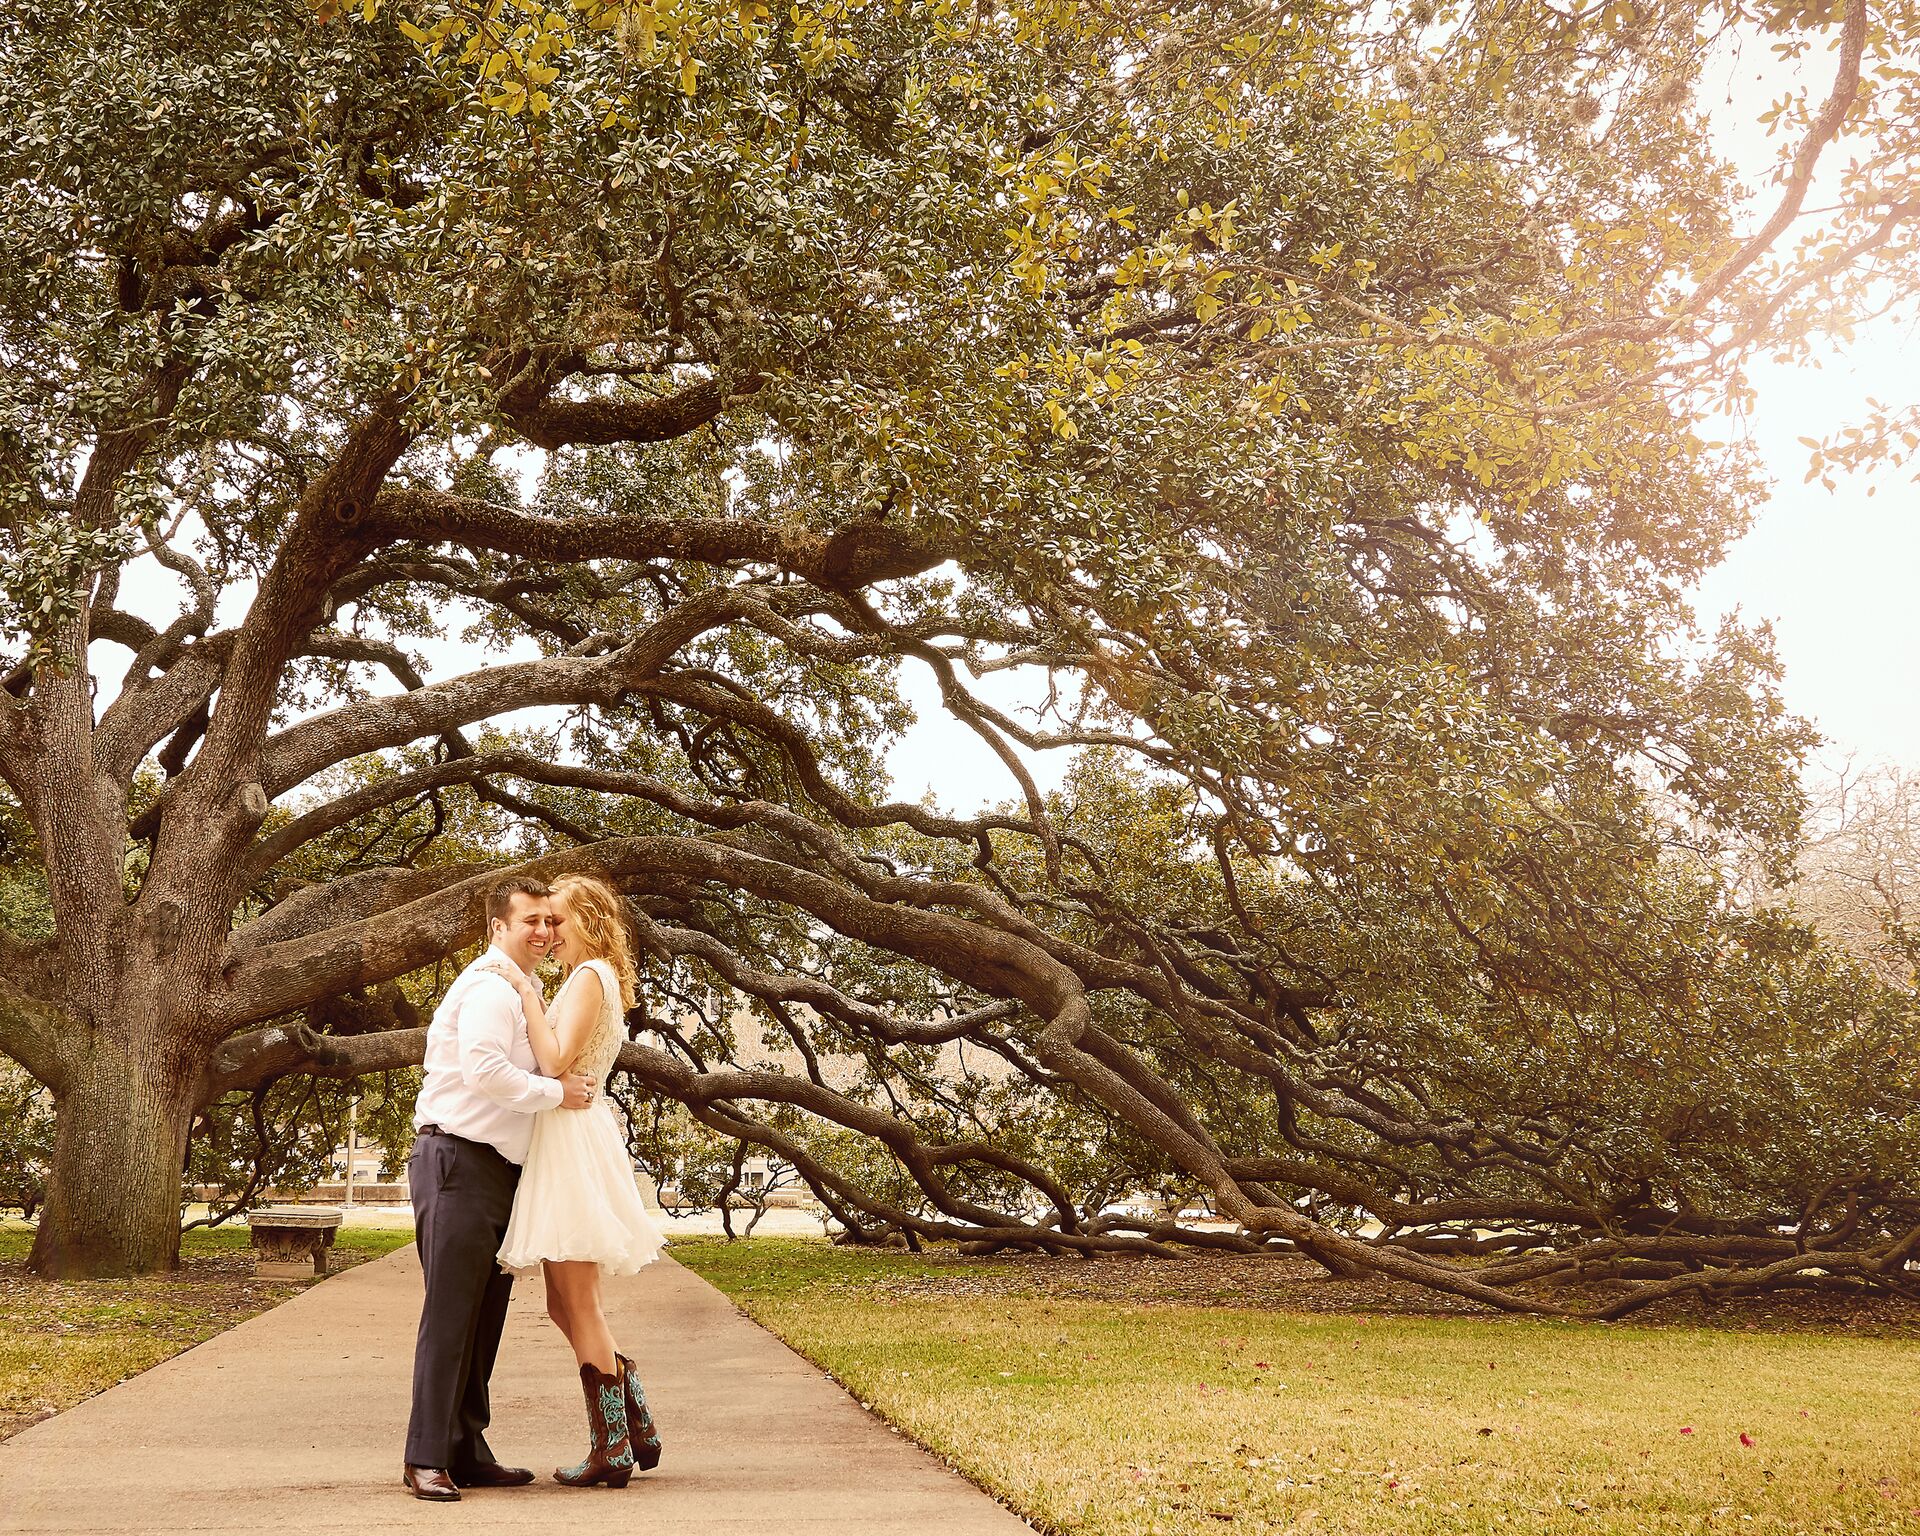
photo credit: KBB Photography
Try this aperture exercise using these F-Stops: 2.8, 4, 5.6, 8, 11, 16, and 22. Place your camera on a tripod or somewhere stable. Turn off autofocus and manually focus on an object. Keep your camera there with the same focus point for the whole exercise. Shoot one frame for each of the above F-Stops back to back. You can shoot in aperture mode for this. Afterwards, examine what happens to the background in each of the shots. The aperture affects the depth of field!
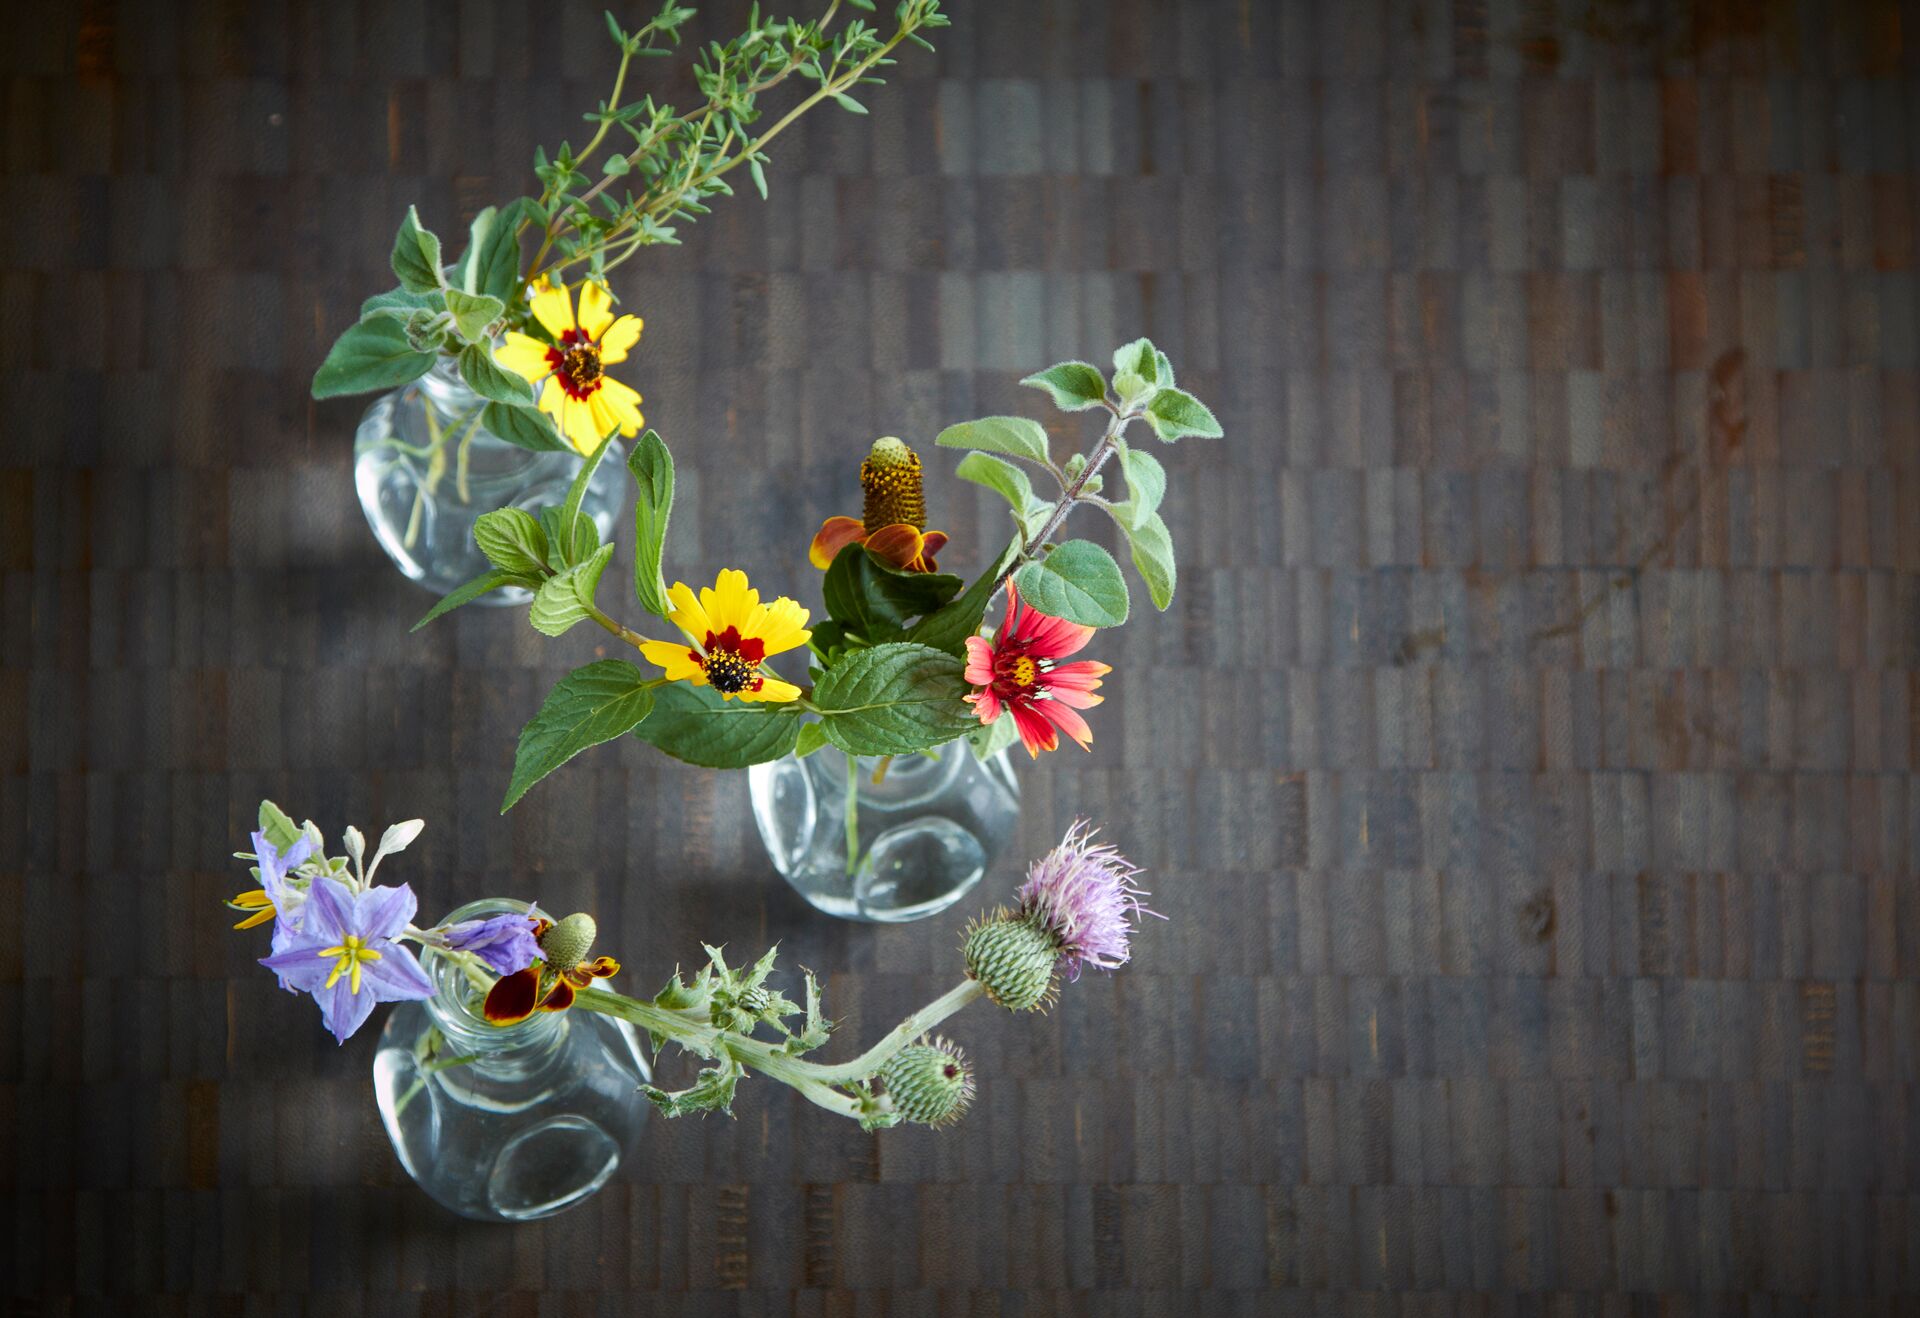
photo credit: KBB Photography
Shoot in Manual Mode for a week. Not shutter or aperture mode. This begins to teach the trifecta of ISO, shutter speed, and aperture. This was the best advice I got from an editor.
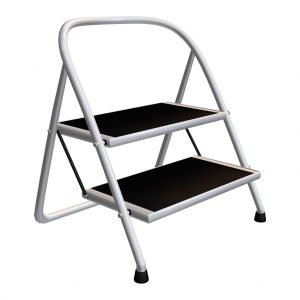
Keep a step stool in your vehicle. You never know when you may need it shooting! Also, never leave your camera in the vehicle unattended. Many professionals have gotten equipment stolen when just running inside to grab a cup of coffee to go.
Thanks for reading my advice on first steps to take with your new camera! I hope it helps. For now, I leave you with this thought.
Food photography is great backlit, while babies are better frontlit.
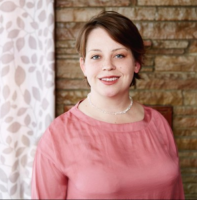 Kim Burnstad is a professional wedding and portrait photographer and owner of KBB Photography. She is also a wife and mother of two children under the age of three! In her spare time (!), Kim is a photographer for Madeworthy magazine and TanglewoodMoms.com.


 Sign in


You are awesome, I love the photos you have done for my family. The best part was the memories I made with my little and how it was more fun than pose-y!